Last updated on May 4th, 2022
Our site is reader supported, this means we may earn a small commission from Amazon and other affiliates when you buy through links on our site.
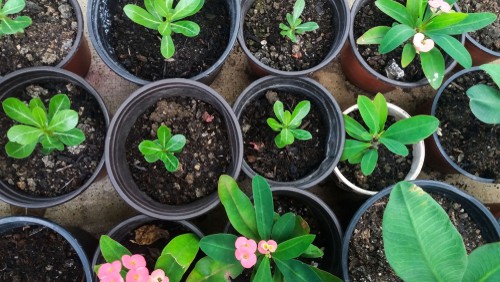
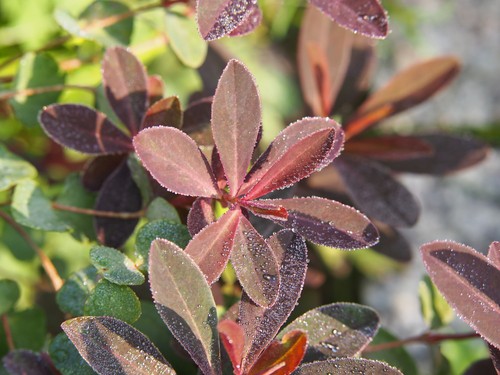
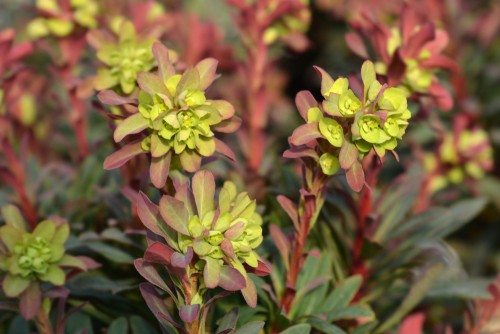
Euphorbia plants offer a beautiful onslaught of colour with their bracts of flowers. It can fill a space in your garden quite well and depending on the variety you get, continue to offer flowers year after year. If you already have a successful Euphorbia growing happily in your garden, you might want to consider taking cuttings and propagating more of them.
Wear gloves to protect yourself from the milky sap that will irritate your skin
Euphorbias, no matter their variety, will secrete a milky white sap that is an irritant for your eyes and skin. Because of this, when you take any cuttings and handle them make sure that you wear gloves. During any time of handling, don’t touch any other part of your skin or face, and you are careful to move the cuttings around in such a way that they don’t come into contact with your skin.

Choosing healthy stems to take cuttings from
When you head out into your garden to select the cuttings for your new plants, simply choose those that are healthy and already have a little bit of growth on them. You don’t want one that is deformed or unbalanced once it’s removed, rather one that is very evenly growing around the entire stem and is nice and healthy.
When to take cuttings from your Euphorbia
Cuttings are best taken in spring before the flower buds emerge. The stems from which you take your cutting should be around 1 to 2 inches long.

Taking Euphorbia cuttings
Step 1
As mentioned, you want to wear gloves during propagation. It can be helpful after you have taken your cutting to stand them in a glass of cold water for about 5 minutes. This process removes the milky latex sap from the end where you took the cut, and it inhibits any additional flow from the cut.
Step 2
Once that is done, you will need to remove some of the lower leaves to prevent too much moisture from dispersing through the leaves. Your plant is still living at this point and it has a transpiration system but it doesn’t yet have the roots that help it take up water. You want to make a clean cut, about 3cm from the lower leaves, with a back-and-forth drawing motion using a very sharp knife.
You want to be able to make a single cut back and forth and not press down on it to make your cut. This can cause a lot of damage if you do it the wrong way.
Step 3
After you have removed the bottom leaves you can dip the end in charcoal to help seal the wounds. Again this is to prevent the sap from leaking out of all the different points. It gives it a nice quick coating.
Planting your cuttings

Step 4
Once that is done, set them aside and prepare the pots. Make sure you fill pots with the appropriate potting compost for cuttings and make a hole at the correct depth using a pen.
Place your cutting inside to the point where the leaves stick out over the top and press them down firmly. It’s important that you put them at the edge of the pot not right in the middle. This helps them to dry out more slowly which is important so that they can develop their roots. The growing medium should be free draining and low in nutrients so that they focus on developing their roots.
You can actually place several cuttings around the edge of a single container, as long as you spread them out along the perimeter. For example, if you are using a square-shaped pot you can place them individually in each of the four corners. Keep them moist and in an area, with indirect sun, and after about three months they should be ready to transplant into new pots.
Related articles you may be interested in
Growing Euphorbia plants – A planting and growing guide
How and when to prune Euphorbia plants


