Last updated on January 22nd, 2022
Our site is reader supported, this means we may earn a small commission from Amazon and other affiliates when you buy through links on our site.
Bare root rose planting guide
Roses are one of the most beautiful of garden plants and with hundreds of varieties and wonderful, exotic colours to choose from it is easy to see why they are one of the most popular plants. There are many types of roses available, from small patio varieties to larger hedging varieties and climbing roses, and these are just to name a few.
What are bare root roses?
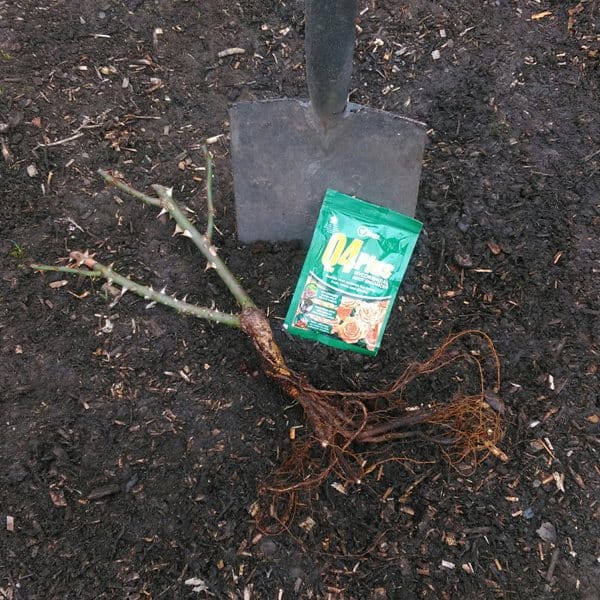
Bare root roses are roses that are lifted from open ground when they have gone dormant for the winter and lost all their leaves. They have no soil around their roots and no foliage, this is usually between November and March. Bare roots rose are usually available by mail order from rose nurseries and are usually of very good quantity and have much deeper root systems in comparison to potted roses.
When to plant bare root roses
Bare root roses can only be planted when they have gone dormant for the winter and have lost all their foliage. This is usually between November when the cold weather sets in for Autumn to around March, just before they start to grow again as the weather begins to warm up.
As long as the ground is not frozen you can basically plant them any time between these months. Containerised roses can be planted at any time of year as long as the ground is not frozen or too dry.
How to plant bare root roses
Before planting your roses it is important to keep the roots damp, not allowing them to dry out. Either water them regularly or alternatively dig the roots into soil/compost in a temporary location until you have decided where to plant them permanently. They should be planted as soon as possible.
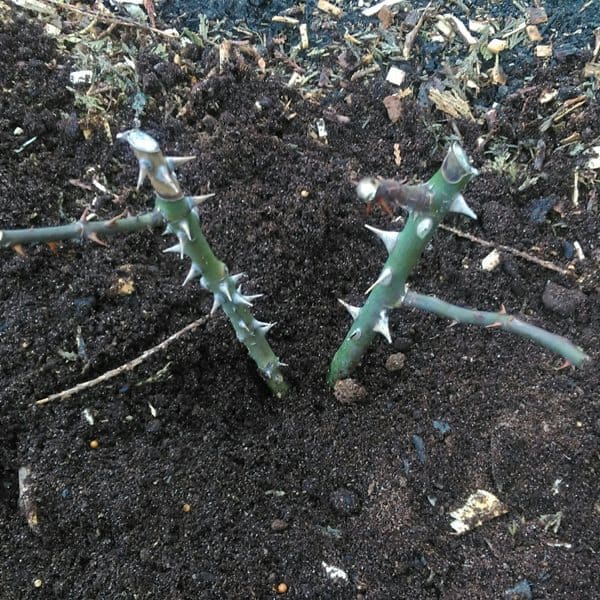
It is recommended to prune the roses to 3 buds above the roots on the main stem. This ideally should be done before planting them as it allows the rose to shoot new growth from lower down and this will create a bushier rose. Roots can also be trimmed very slightly if necessary, for example, if any damage has occurred when they have been lifted from the ground.
Rose Planting Steps
Step 1
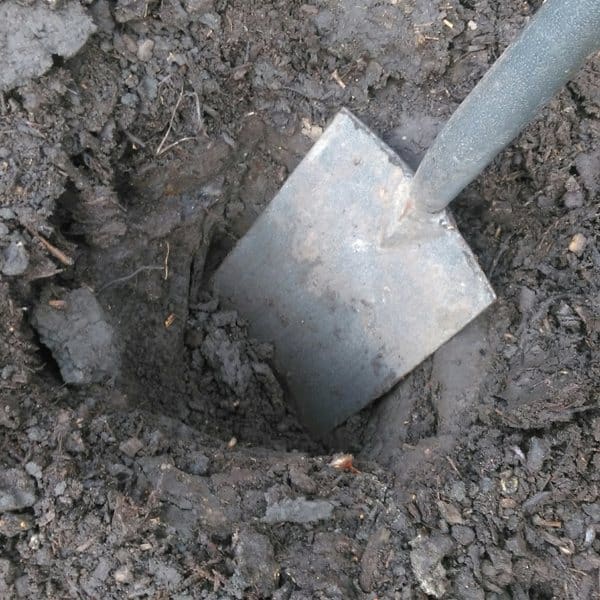
Dig out your hole in your desired location. This ideally needs to be the depth of a garden spade and twice as wide as the roots to ensure the roots are fully covered.
Step 2
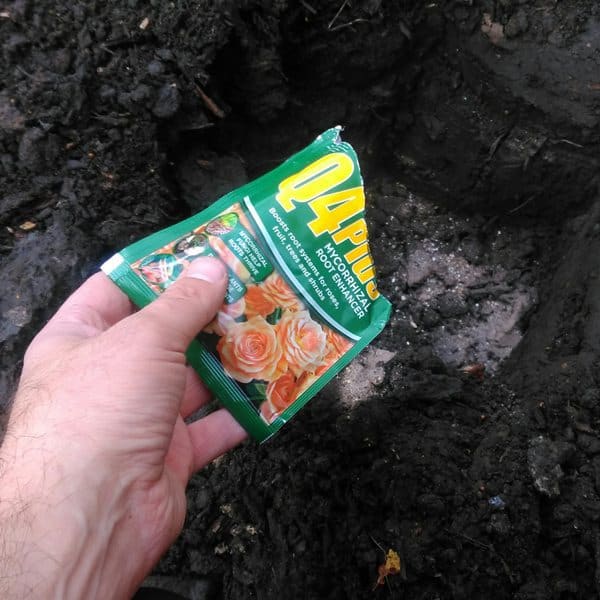
Fork the base of the hole to loosen the soil slightly. Add a granular fertiliser/feed, such as bone meal or well-rotted farm manure. Mix this at the base of the hole with the soil that was dug from the hole previously.
Step 3
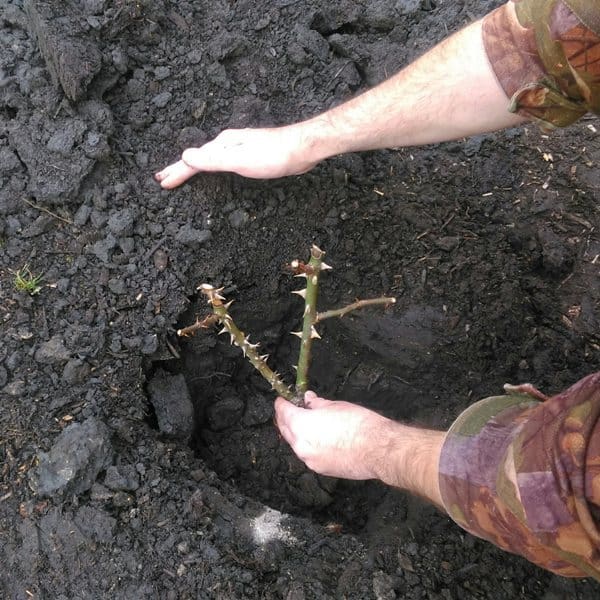
Place the rose into the hole you have dug, and then add the soil back into the hole. Filling in around the root gradually and firming in the layers.
 Step 4
Once the hole is full, add a mulch layer of well-rotted compost onto the surface. You could also use bark or farm manure as mulch. This will help to retain moisture and protect the roots from any surface frost. Water the rose well.
Final thoughts
It is important to water the rose (once planted) on a regular basis, even when it has been raining as the rainwater doesn’t always reach the roots. This may, in turn, have a negative effect on the growth of the rose if not correctly watered.
In spring, when the new growth shoots, it is best to spray with a fungicide such as rose clear to help prevent blackspot and mildew. This should be done at regular intervals as indicated on the fungicide spray container.
Recommended fertilisers and feeds
- Doff rose & shrub feed
- Bonemeal
- Fish, blood & bone
- Q4 pelleted fertiliser
- Q4 rootmore

