Last updated on October 13th, 2021
Our site is reader supported, this means we may earn a small commission from Amazon and other affiliates when you buy through links on our site.
Winter pansies are one of my favourite plants for providing some autumn and winter colour when not much else is flowering. Most varieties of pansies are hardy and this means that they can be sown in summer through to the autumn and will give some colour throughout winter and into the following spring.
I sowed some winter pansies in a new Super7 heated propagator so thought it would be the perfect time to show you how you can sow your very own winter pansies or violas from seed. I have 5 new varieties of pansies I am growing this Autumn, these varieties are the Pansy Brunig, Black moon, Can Can Mixed, Super Chalon Giants Mixed and finally the Cool Wave. I have also sown some Bellis and Violas Cool Summer Breeze and you can also sow these in exactly the same way as the pansies.
When to sow winter pansies?
Winter pansies will flower from Autumn, through the Winter and into Spring before you switch them out for summer bedding. Obviously, the earlier you sow them, the sooner they will be ready to plant out into winter hanging baskets, planters or directly into your borders.
In general, if you are looking to have pansies ready to plant out in Autumn or the beginning of Winter, you ideally want to sow seeds any time between July and September. If you sow them any later they will probably be ready for Spring.
How to sow winter pansies
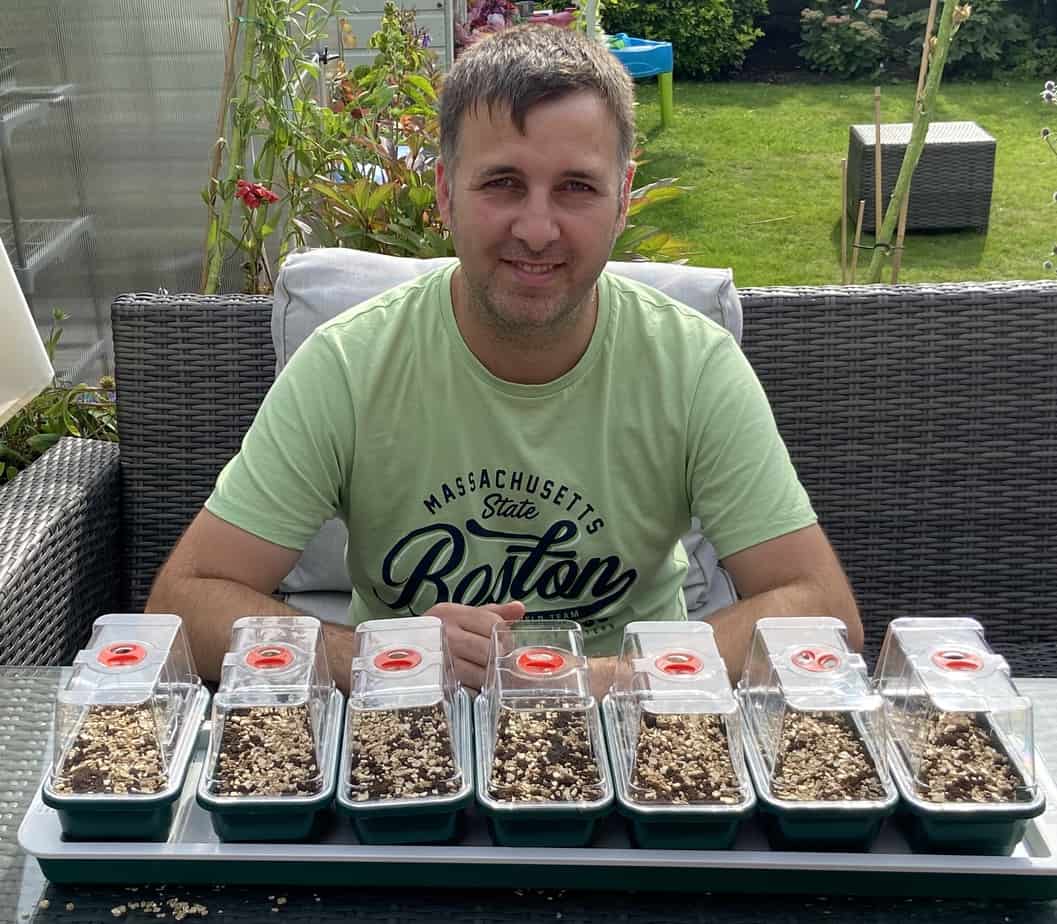
You can sow winter pansies into shallow seed trays, but you can also sow them directly into pots too. For this guide, I have used seed trays that fit perfectly into my heated propagator, this will maintain a consistent temperature but it is not essential. Using a heated propagator will usually just bring them on sooner, and they can germinate a little more consistently too.
You can just sow them into seed trays and cover them with polythene too, in fact, this is what I have done with the Bellis (and placed this into my greenhouse) as I ran out of space in the propagator.
You can also read this guide on the best winter plants
What you will need
- Seed trays
- Quality seed and cutting compost (you can also use a mix 50% peat with 50% perlite)
- Your favourite Pansy seeds
How to sow
Step 1
So the first thing you need to do is fill the seed trays or pots with a good quality seed compost.
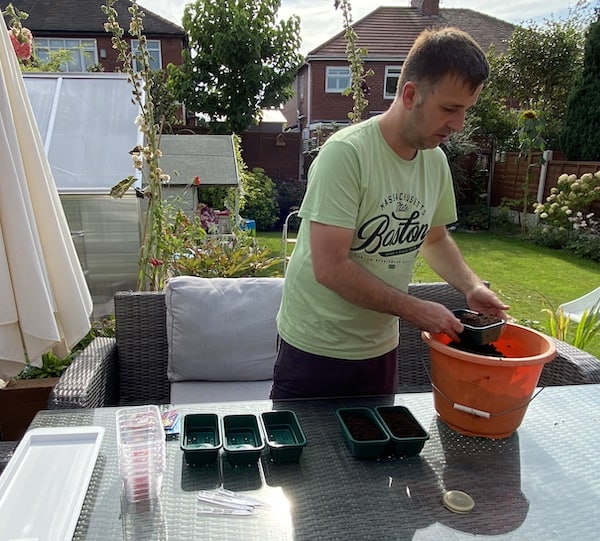
I sometimes mix my own and use a mix of 50% multi-purpose compost with 50% perlite as this helps to keep the soil free-draining.
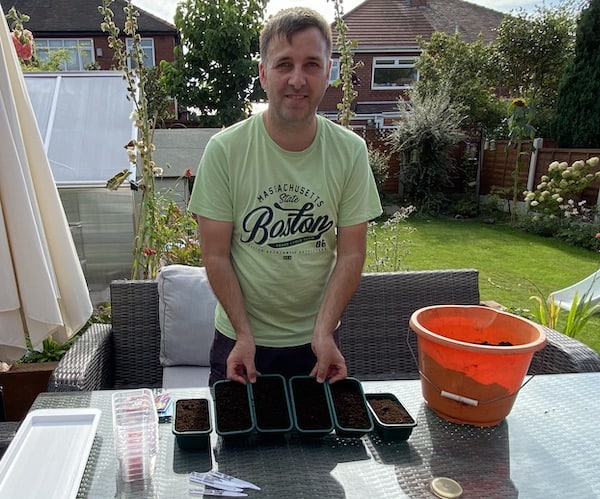
What you need is a couple of inches of seed compost in the seed tray, then lightly tamp the compost down with your hand. You could also just give the seed tray a couple of taps to compact the compost.
Step 2
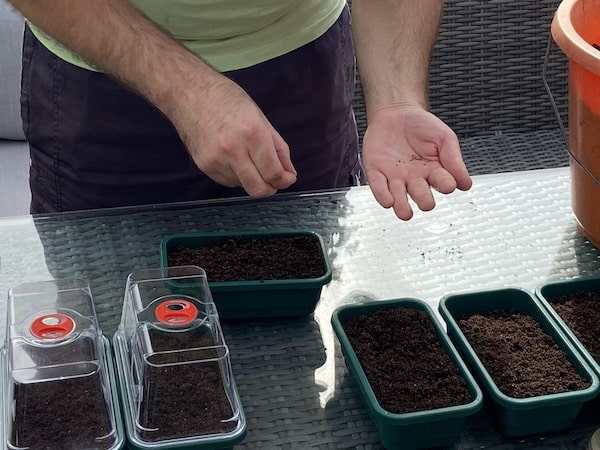
Next, carefully sow the seed onto the surface of the compost, try to space them out evenly as possible because this will make pricking them out easier in a few weeks time when you will need to pot them on.
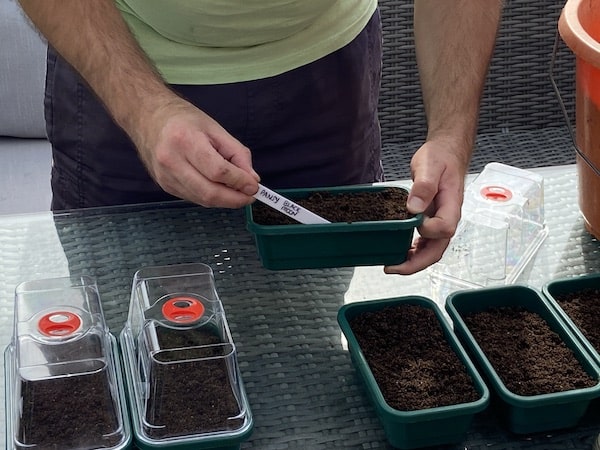
Don’t forget to label them if you have several different varieties (as I have) so you know which types are in each tray.
Step 3
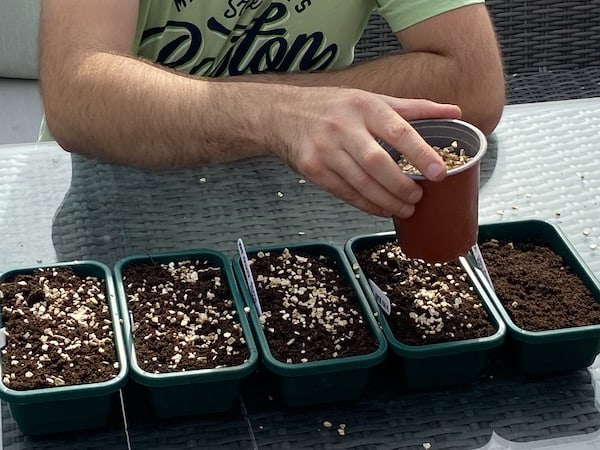
Next, cover the seeds with a thin layer of vermiculite. This helps to aerate the soil whilst simultaneously retaining water and nutrients. A little tip from us, fill a smaller pot with vermiculite and then shake it lightly above the seed trays, this will help evenly add a layer of vermiculite to the seed tray. If you don’t have any vermiculite to hand, you could also just add a very thin layer of compost over the seeds instead.
Step 4
Now leave the seed trays to soak in a tray of water for 15 to 20 minutes until the soil has absorbed the water. If you are unable to do this, water gently with a fine rose watering can, being very careful not to cause the seeds to shift.
Step 5
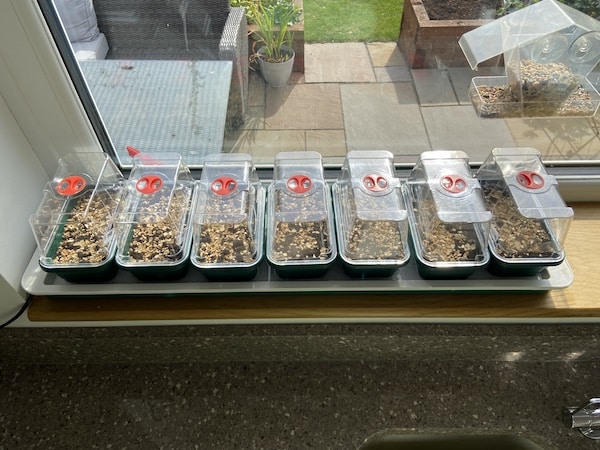
Finally, put the seed trays into a propagator and cover with the top, a sunny window sill or greenhouse is ideal. If you have a heated propagator, a temperature of between 15-20C (59-68F) is perfect. Some heated propagators cannot be set to an exact temperature, but not to worry if this is the case for you, this is usually the temperature set by default.
If you are not using a heated propagator, you can just cover the seed tray or pots with some clear polythene and this will do the job.
Step 6
Finally, keep an eye on the watering, keep the soil moist but not too wet. Germination usually takes around 14 to 28 days depending on the variety and the growing condition.
Step 7
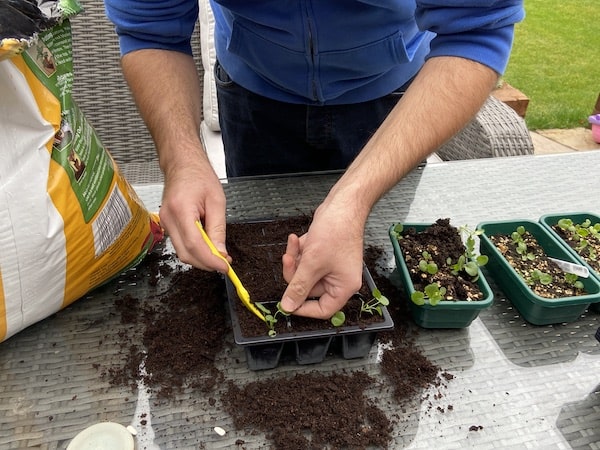
Once they are large enough to handle, prick them out into single pots or trays to grow them on until they are established small plants.
To learn more about how to prick out seeds step by step check my guide out here
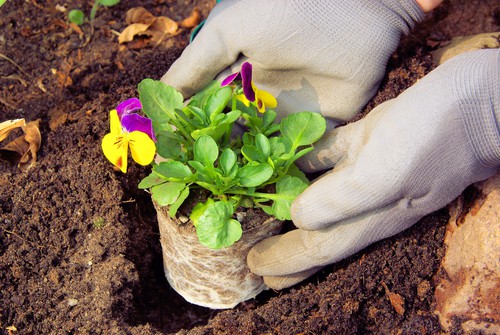
Once they are well-rooted, plant them directly into your hanging baskets, containers or borders. If you have sowed them later and it is frosty weather, climatise them in a cold frame or greenhouse to harden them off for a couple of weeks before them planting out.

