Our site is reader supported, this means we may earn a small commission from Amazon and other affiliates when you buy through links on our site.
Summer hanging baskets produce some of the most colourful displays you can have in your garden while also giving some vertical colour. In my guide on how to plant a summer hanging basket, I have chosen a mixture of plants including geranium for a centrepiece but you really can choose whatever basket plants you want as long as you have some beautiful bush plants to fill out the top of the basket and some stunning trailers to overhang around the edges.
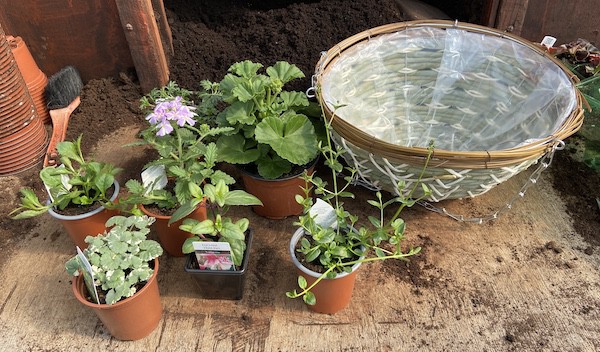
The design I have chosen is super simple and includes a geranium for the centre, some variegated nepeta to trail at the back, and some lobelia, verbena, fuchsia, diascia and some bidens to trail over the edges. This will give a good mixture of colour to produce a stunning display. Again though, there are literally 100’s of plants to choose from but whether you planting a single variety such as a fuchsia basket or something entirely different. The process of planting a basket is the same.
What you will need
- Around 7 plants, something upright for the centre (Large geranium is perfect) and 6 trailers of your choice.
- Hanging basket of your choice. We have used a simple 14″ wicker basket with a plastic liner.
- Multipurpose or specialist hanging basket compost.
- Fertiliser and water-retaining granules (Optional but recommended)
Not sure what plants to use, check out our guide on the best plants for hanging baskets and the best trailer plants for hanging baskets
How to plant a summer basket
Step 1
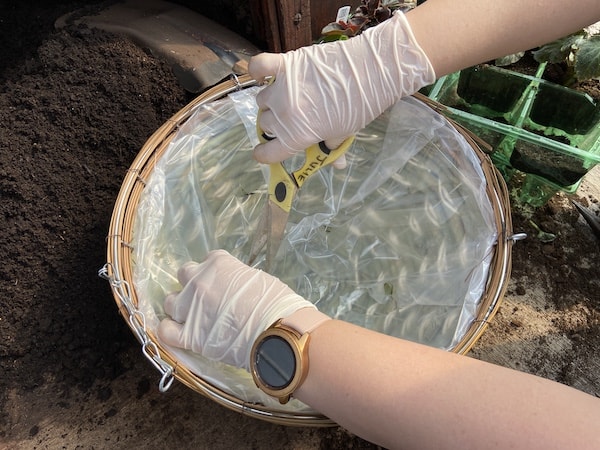
First you will need to choose your hanging basket, if it has a round bottom you can place it onto a large upside-down pot or bucket to keep the basket upright while you plant it.
As my basket already have a plastic liner, all I needed to do was cut a few holes in the plastic so that the water can drain. Some baskets come with pre-moulded coir liner, I would still line the basket with some plastic, maybe an old compost bag cut to size.
Step 2
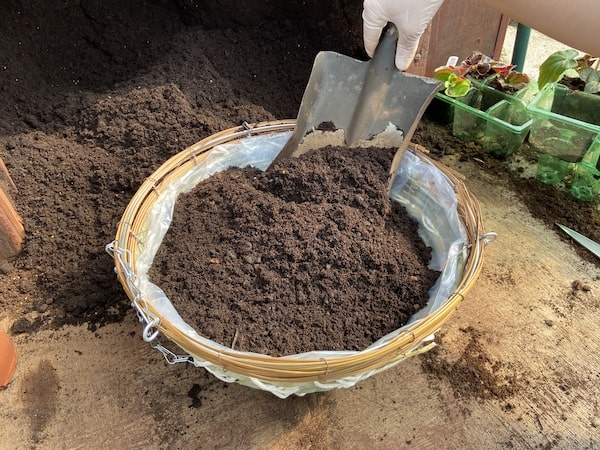
Now fill the basket with good quality compost, the compost I use is specially made at a local garden centre and includes six-month fertiliser and water-retaining granules so this is perfect for hanging baskets.
Advice on choosing compost
If you use a compost advertised for hanging baskets, it should already have enough fertiliser and water-retaining granules in it. If you use multi-purpose compost, then I recommend adding some slow-release fertiliser and water-retaining granules into the compost at the specified amount shown on the packaging. This will greatly improve the goodness and water retention of the compost which is usually pretty poor in multi-purpose compost.
You want to fill the compost to around an inch below the rim of the basket, some people fill the basket about two thirds before planting the plants in but I like to fill it a little further.
Where to buy granular fertilisier and water-retaining granules
- Feeds plants for up to 6 months, removing the needs for regular feeding
- Temperature controlled coating releases nutrients only when conditions are right for feeding
- Ideal for all types of plants and suitable for fruit and vegetables
- Ideal for beds, borders, pots, containers and hanging baskets
- Feeds up to 40 plants
- Water storing crystals that absorb and release water when plants need it, reducing the need for watering
- Works all season
- Simply mix into Miracle-Gro compost
- Ideal for pots, tubs and hanging baskets
Step 3
Now place your plants in the basket while still in their pots to get an idea of where you want to plant them. Once you have a good idea of how you want to display the plants, remove the plants and plant the centrepiece plant first. In my example below, I used a geranium as they flower all summer long and are east to deadhead and look after.
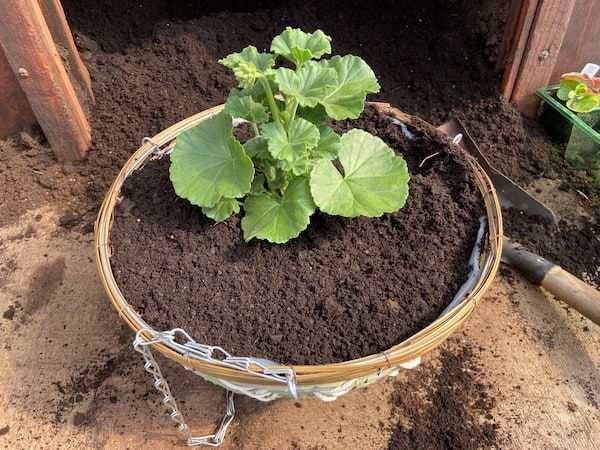
Step 4
Now plant the rest of the plants how you positioned them earlier, I always recommend planting something like Nepeta at the back of the basket as they are grown for their colourful foliage rather than their flowers and trail nicely down the back of a wall on which the hanging basket is positioned.
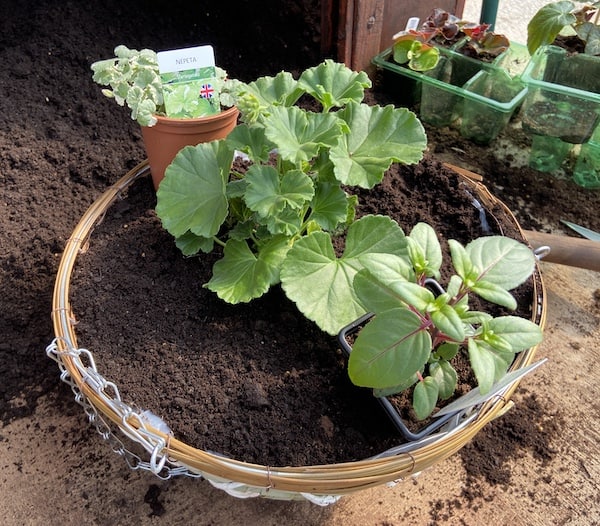
Nepeta and trailing fuchsia planted, the Nepeta (the plant with the variegated foliage) will be at the back of the basket.
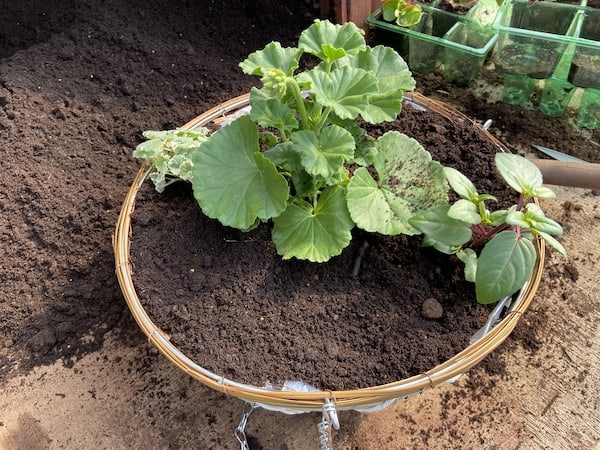
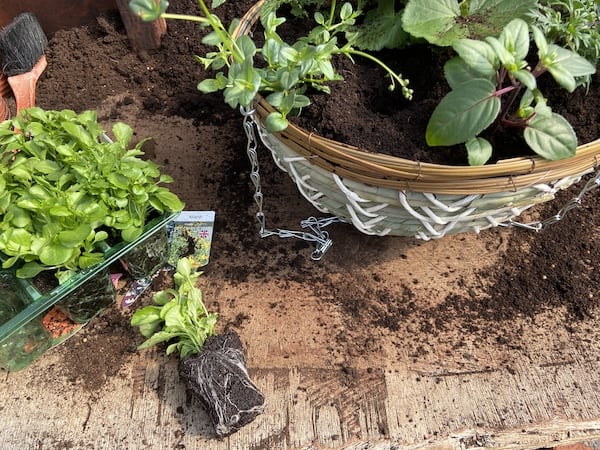
Plant the rest of the plants as shown below, be careful not to plant them too deeply, always plant them to the same level they were on their pots.
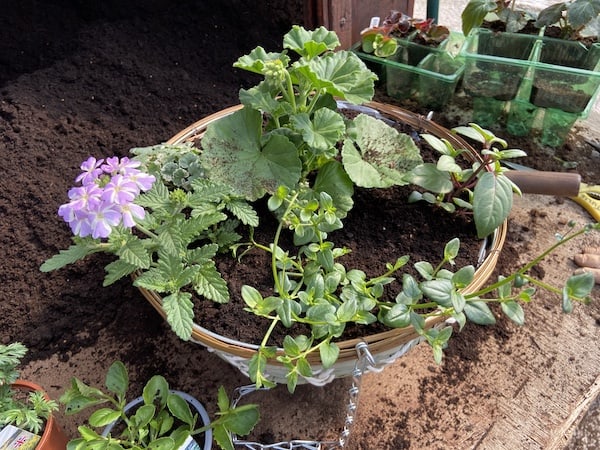
If you have gaps they will fill out quickly. However, if you want to make them look a little more full. I always have a tray of trailer lobelia handy to fill in the gaps.
Step 5
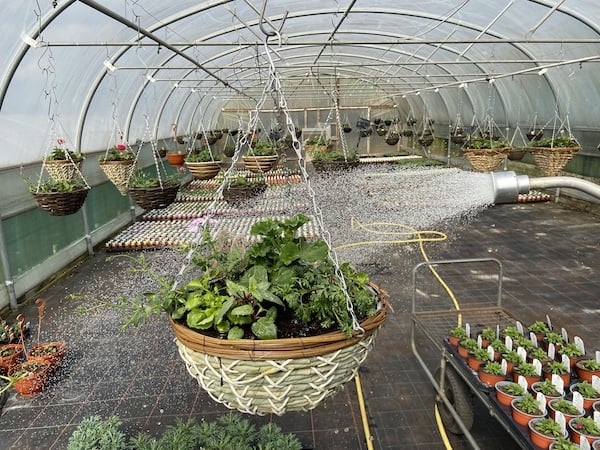
With the basket fully planted, give it a good watering and allow it to drain before hanging it in its final positions. Some hanging baskets can be heavy once watered, especially large 16 and 18-inch baskets, in this case, it may be better to hang them up and then water them once in their final positions.
Step 6
Aftercare
Summer hanging baskets will do much better if kept well fed, I recommend feeding with a general liquid fertiliser or tomato feed. I do this around once every 2 weeks increase to once a week once there established. In the summer, they may need watering daily. A little tip is just to lift the hanging basket up by the bottom with one hand and see how it feels, you will soon get a good idea of when it feels too light and need watering. Always water first thing in the morning or evening is possible, water during the day can burn the foliage of some plants such as Begonias.
Last update on 2025-12-19 / Affiliate links / Images from Amazon Product Advertising API


